On this week’s show it’s all about the emotional
journey this sport can take you on. First, an author and runner speaks about
how running helped her deal with the grief of losing her father. Then, a father
shares the ups-and-downs of running a marathon with his son. Plus, one runner shares
the enjoyment of running at the back of the pack.
On this week’s show it’s all about the emotional journey this sport can take you on. First, an author and runner speaks about how running helped her deal with the grief of losing her father. Then, a father shares the ups-and-downs of running a marathon with his son. Plus, one runner shares the enjoyment of running at the back of the pack.
Safety pins have for years been the method of choice for securing your race number to the front of your top. It is after all known as “pinning on your number.” They’re simple, dispensable, and races provide thousands of them in the event that you misplace any.
But, every time you need to secure your race bib with safety pins, you’re puncturing your top. Plus, if you’re like me, you forget that your top has leftover pins from a past race. The end result goes something like this: forgetting you have pins on your jersey, and then subsequently putting said top into the wash. Bad times ensue.
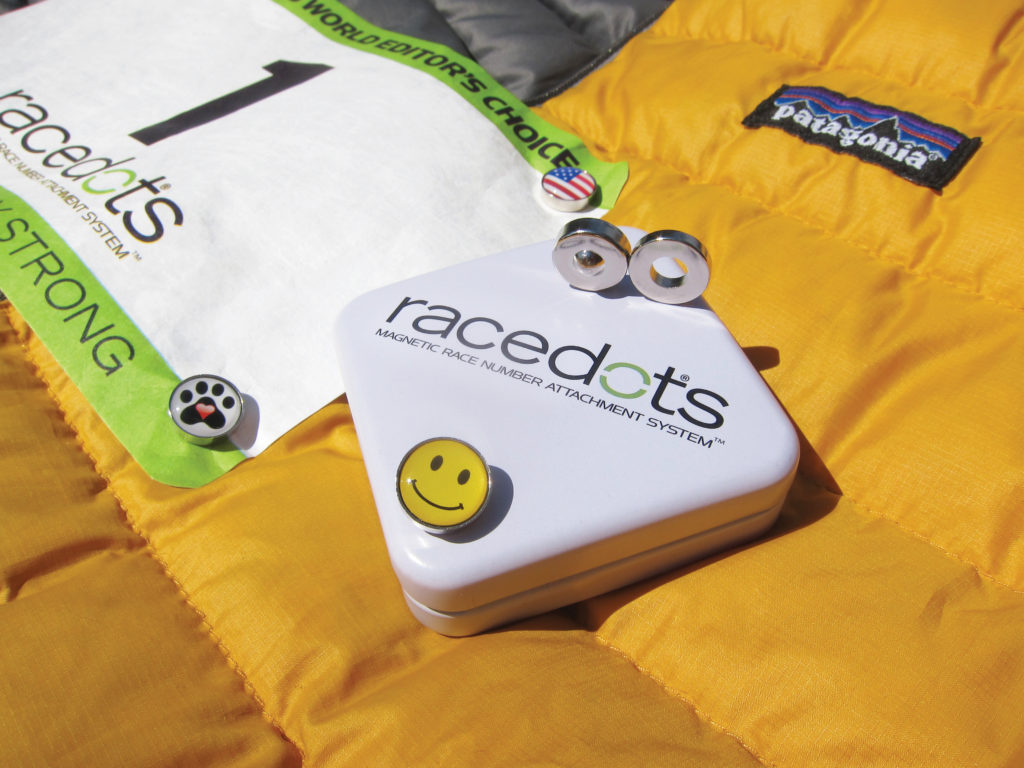
These days, there’s a replacement to the traditional safety pin: magnetic strips, which are designed to secure your number to your top. (In case you didn’t know, all races provide numbers that you need to display on your front for the purpose of identification, and to confirm you’re a paying participant.) One such product is RaceDots, which we had a chance to test out.
Although this isn’t the first magnetic system I’ve used – I previously wore BibBits, a Dutch-based brand whose product is similar at its core – RaceDots are slightly different because they come in a number of different styles, have a rounded circular base, and are more readily available in Canada. In fact, MEC locations across the country carry them.
In our experience, RaceDots are powerful and don’t add much weight to your top. They weigh four grams a piece and are about 12.7 mm in diameter. It should also be mentioned that RaceDots shouldn’t interfere with timing devices for races – which are often embedded in the bib itself – and I haven’t had issues using magnets in place of safety pins. RaceDots can be placed on the punched holes of a bib, in exactly the same place pins are applied.
The number one reason one should opt for magnets instead of safety pins is for a reason previously mentioned: they’ll help protect your clothing since you don’t require four safety pins inserted through your top, whether that’s a jersey, T-shirt or tank top.
Now, there are drawbacks. You might forget, or lose, one of the four RaceDots but fortunately, they’re powerful enough that you really only need to use three in the first place. In fact, RaceDots recommend that runners use just three anyway – two on the top and one on the bottom (in the middle) – because it reduces scrunching. Still, bring all four to an event. Just in case.
It should said be mentioned that they’re not indestructible, but RaceDots will provide a replacement if the magnetic ring breaks. Just send them a photo.
RaceDots start at US$19.99 – or $25-$29 at MEC – for a four-pack which is more than the “free” safety pins that you can get from races. But nothing at a race is truly free – costs are passed along to participants and are baked into the entry fee in order to keep the livelihood of the event afloat. And more often than not, safety pins are not reused from one event to the next, and they pile up in your drawer at home.
Because RaceDots can be customized, they also make for a great gift for the members of your local running club, or as age group or door prizes at your race. You can learn more about RaceDots and see all of their designs at racedots.com.
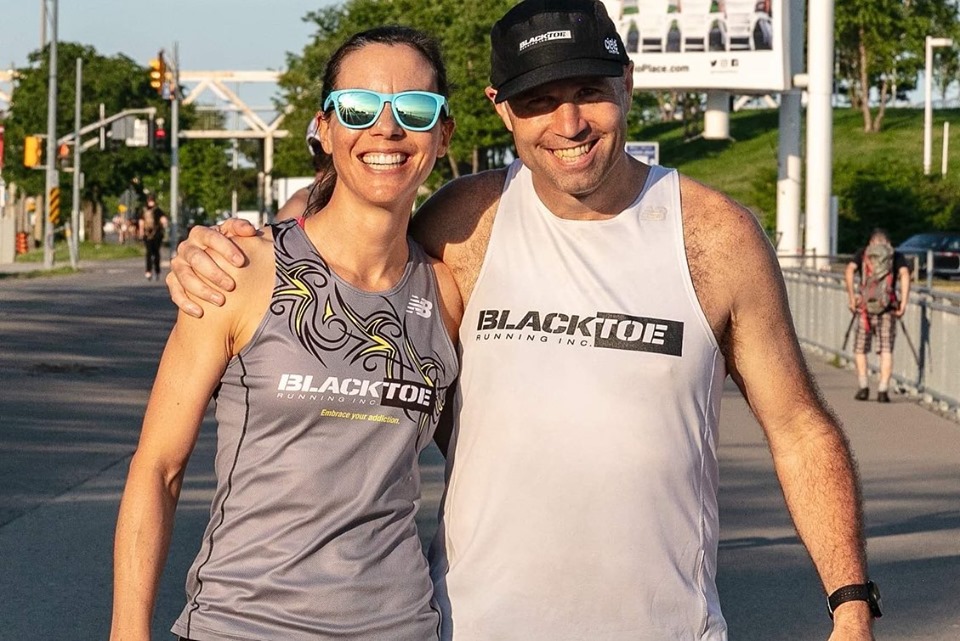
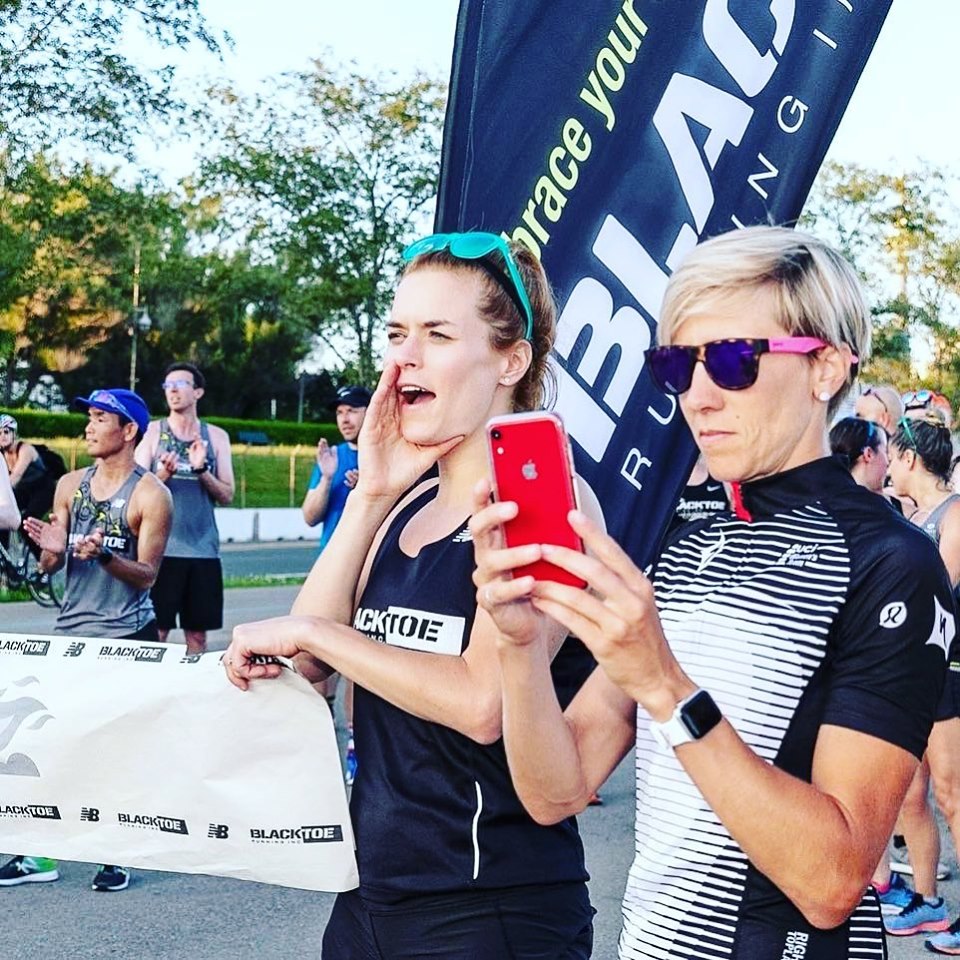
Last night I was invited to be a part of the BlackToe Running Great Equalizer Run. I woke up with a full heart, met some new running friends, and cannot wait to be apart of another equalizer event.
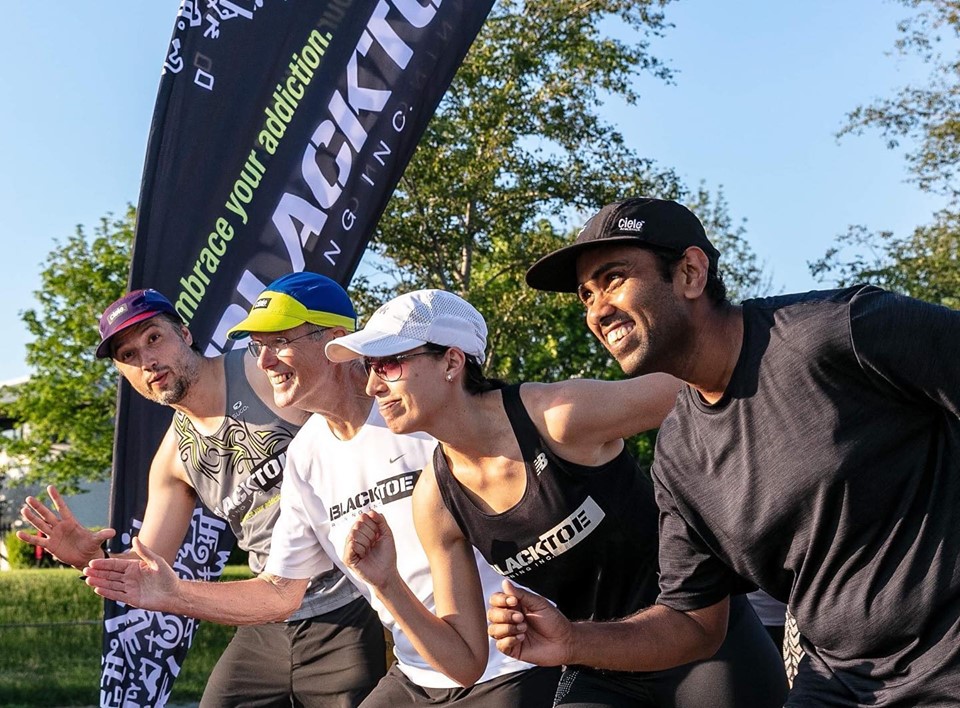
What’s an Equalizer Run? It is an event where everyone starts at staggered interval such that everyone is finishing at almost the exact same time. The slowest person heads out first, the fastest person leaves the starting area last and everyone else filters in between. It takes a lot of care and organization by the event organizers to ensure that everyone is seeded correctly. The idea is that anyone can win the event – hence “equalized,” since everyones’ predicted finish time brings them across the tape at the same time.
Mike and Maya Anderson, owners and operators of BlackToe, brought together their run groups last night to participate in one of these events. Mike organized the times and Maya sent them off. Eric Bang started with the first runners, paused at the turn-around with Phaedra Kennedy and myself, and then ran back with the fastest runners. Phaedra and I, after cowbelling at the turn-around, hoped on our bikes cheering for every participant as we passed them on the way back, and made it back to the finish line to watch the runners come en masse to the finish line.
It was really incredible to watch the runners all start to gather together towards the end. The event was made even more special hearing all the various people cheer for their teammates old and new as they passed each other on the out and back and eventually caught up with each other. Runners who were out with injuries (myself included) were able to participate in other ways that made us feel equally a part of the group.
If you’re group is looking for a really fun way to bring together a workout, I highly encourage you to host on your own #GreatEqualizerRun.
2 cups (500 mL) shredded light Monterey
Jack or Cheddar cheese
3/4 cup (175 mL) salsa (optional)
DIRECTIONS
ONE: In a large nonstick skillet, heat oil over medium-high heat
and cook turkey, stirring for about 5 minutes or until no longer pink inside.
Remove to plate.
TWO: Return skillet to medium-high heat and cook pepper, onion
and chili powder for about 3 minutes or until onions just begins to soften.
Stir in turkey, hot pepper sauce and pepper.
THREE: Divide turkey mixture among half of each of the
tortillas. Sprinkle with cheese and fold over uncovered half, pressing to help
seal.
FOUR: Wipe out skillet and place over medium heat and place
folded tortilla in pan and cook, on both sides until lightly browned. Repeat
with remaining tortillas. Cut each into 4 wedges and serve with salsa, if
desired.
A foam roller is a fantastic tool every runner should invest in. It works by applying pressure to certain body parts and trigger points (areas of increased tension), which increases blood flow to the area, helping to relieve pain soreness and muscular tension. A foam roller allows you to release your myofascia (sheath surrounding your muscles) without the help of a therapist, allowing your muscles to move without inhibition making them more efficient. And when rolling out on a foam roller is combined with static stretching, studies have shown that you will also improve your flexibility
By Pamela Mazzuca HBSc. Kin, Athletic Therapist
When using a foam roller you should roll over each area for 30-60 seconds, holding it on areas of increased discomfort for 10 seconds at a time. Using a foam roller is uncomfortable but it shouldn’t cause intolerable amounts of pain. If you experience pain, lighten the amount of pressure you are using. Here are five areas that every runner should stretch using a foam roller to improve performance and decrease risk of injury. Note: Light bruising may occur over trigger points the next day.
Quadriceps
Lying on your stomach place the foam roller under your right thigh. With your forearms on the ground, rest your left ankle on top of your right ankle and lift your hips off the ground. Slowly roll up and down from the bottom of your hip to just above your kneecap. Repeat on the other side.
Hip Flexors
Lying on your stomach place the foam roller under your hips. With your forearms on the ground, lift your hips off the ground and shift your weight over your right hip. Slowly roll up and down over your hips. Repeat on the other side.
IT Bands
Lie on your right side with the foam roller under your right outer thigh just below your hipbone. With your right leg straight, and your left foot on the ground in front of your right leg place your right hand on the floor for balance. Slowly roll up and down the outer thigh from just below your hipbone to just above your knee. Repeat on the other side.
Glutes
Sitting on the foam roller, rest your right ankle on your left thigh and place your hands on the ground behind you for support. Shift your weight onto your right glute and roll up and down over your right glute. Repeat on the other side.
Hamstrings
Sitting on the ground, place the foam roller under your right thigh just below your hipbone. While keeping your right leg straight and your right foot off the ground, rest your left ankle on top of your right ankle and place your hands on the ground behind you. Supporting your weight on your hands, roll up and down from the bottom of your hipbone to just above your knee. Repeat on the other side.
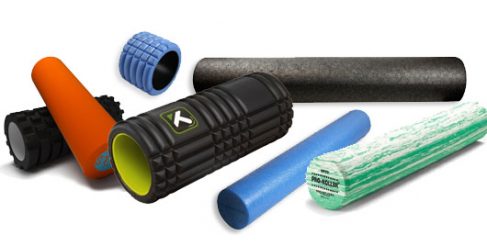
Five Features to Look for in a Foam Roller
6-inches in diameter
Raised areas for extra pressure
One to three feet long
Hollow – makes it easier to travel with
Comes with trigger point massage ball – the ball help release deeper trigger points
On this week’s show Mark speaks with Kevin Rutherford, the CEO of Nuun about the brand’s points of difference and over aching mission. Then, Rhonda Matheson who just completed the Manitoba Marathon, describes the joy of reaching the finish line of her very first marathon distance. Plus, Ted Wagstaff, a runner in Ottawa, discovers the sources of motivation and his ability to dig deep during an obstacle course race.
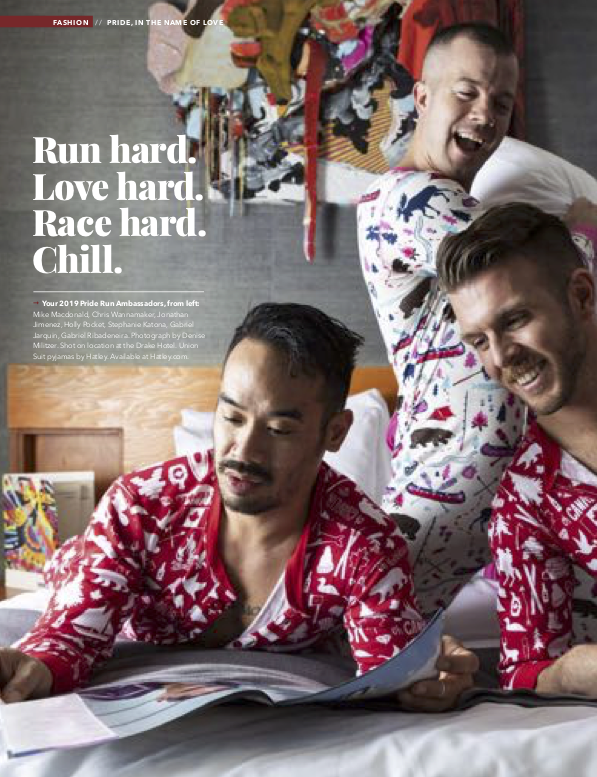
A New First for iRun – we’re highlighting some of our stories as “Featured Readings” – read aloud by some great storytellers and talented voices. We hope you enjoy!
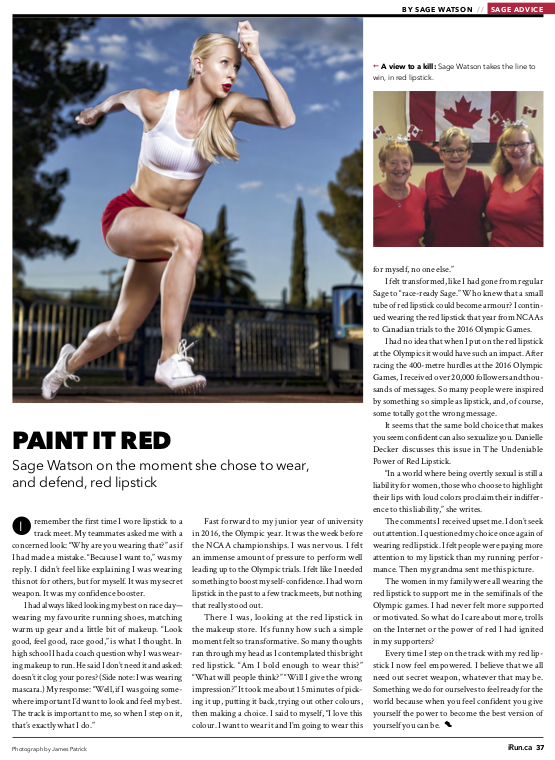
“Run Hard, Love Hard, Race Hard, Chill” was originally featured in the iRun May 2019 Edition.
With race season almost upon us, it’s your last chance to ramp up your training with a High Intensity Interval Training (HIIT). By integrating a HIIT workout into your weekly routine you will be giving yourself an upper edge on the competition.
HIIT workouts are characterized by short bursts of intense exercise that is intended to increase your heart rate followed by a longer recovery period. Note that this is not a workout for the meek as it requires you to push yourself as close to your maximal effort as possible, which will not only improve your overall fitness but it will also help make you mentally tougher on race day.
The benefits of HIIT workouts are plentiful. As far as time efficiency, nothing compares. Most workouts are only 15-20 minutes long and they boost your metabolism during and AFTER your workout, allowing you to burn 25-30% more calories than steady-state exercise. They also improve overall muscle tone and your body’s ability to utilize insulin, which provides more energy to your muscles leaving less energy to be stored as fat, helping with weight management. Plus your parasympathetic activity (the part of your nervous system that slows down your heart rate, increases digestion and decreases stress) is also improved by HIIT workouts.
HIIT workouts are a great way to train both your aerobic and anaerobic systems in a single workout. During the short bursts of high intensity exercise you will work at 80-95% of your maximum heart rate, training your anaerobic system. This teaches your body how to maintain maximal effort, which is needed for power efforts such sprints and hills in a race. During the longer recovery periods your aerobic system kicks in, improving your overall endurance. When compared to unadorned endurance training, HIIT workouts are superior at improving your oxygen capacity during exercise (aka V02 max), which will help improve your PB.
So before you get too close to your next race, incorporate this HIIT workout once to twice a week to improve your cardiovascular fitness and athletic capacity.
Bright fresh lemon marries with garlic; paired up with spicy cauliflower and peppers hot off the grill makes these an easy weeknight dinner. Try these kebobs as appetizers by dividing the mixture into 16 and shape onto skewers.
What you need: 1 tsp (5 mL) grated lemon rind 1 tbsp (15 mL) lemon juice 4 cloves garlic, minced or 1 tbsp (15 mL) minced garlic 2 tbsp (25 mL) chopped fresh parsley 1 tsp (5 mL) chopped fresh thyme 1 tsp (5 mL) smoked paprika 1/4 tsp (1 mL) each salt and fresh ground pepper 1 pkg (450 g) lean ground Ontario turkey 1 small head cauliflower 2 red bell peppers 2 tbsp (25 mL) canola oil 1/2 tsp (2 mL) each cayenne pepper and salt
DIRECTIONS:
ONE: In a large bowl, stir together lemon rind and juice, garlic, parsley, thyme, paprika, salt and pepper. Add turkey and mix together with your hands until evenly distributed.
TWO: Divide mixture into 8 balls and shape into an oval onto soaked wooden skewers.
THREE: Remove outer leaves of cauliflower and break into large florets. Cut peppers into quarters and toss both into a large bowl. Add oil, cayenne and salt and toss to coat.
FOUR: Place cauliflower, peppers and turkey kebobs onto greased grill over medium heat for about 12 minutes, turning a couple of times until vegetables are tender crisp and turkey is no longer pink inside. Serve kebobs with vegetables.
Recipe and photography courtesy of Ontario Turkey Farmers.


 Our Magazine